Troubleshooting Tractor Alternator Charging Issues: A Step-by-Step Guide
A dead battery or dimming lights on your tractor usually points to alternator trouble. This guide provides a straightforward, step-by-step approach to diagnosing and fixing charging problems, suitable for both beginners and experienced mechanics. For more information on John Deere tractor batteries, see this helpful resource: John Deere Battery Info.
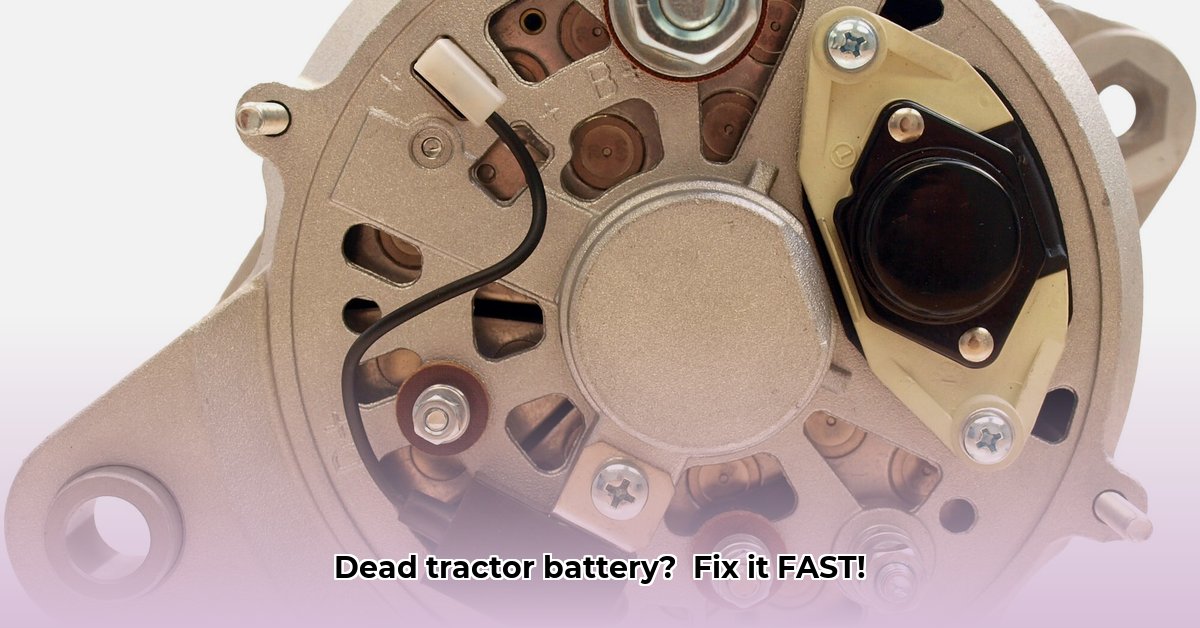
1. Visual Inspection: The First Line of Defense
Before complex tests, visually inspect the charging system. Look for loose, corroded, or damaged wires and terminals. Corrosion acts as a poor connection, disrupting electricity flow. Clean any dirty or corroded connections with a wire brush and battery terminal cleaner. A simple cleaning often solves the problem. Don't forget to check all belts for wear and proper tension. A slipping belt will reduce alternator output.
2. Voltage Check: Measuring Electrical Output
Use a multimeter (a device measuring electrical voltage) to check voltages at various points. With the engine off, the battery voltage should be around 12 volts. A significantly lower reading indicates a weak battery possibly due to a charging problem. Next, start the engine. At idle, and then at approximately 1500 RPM, measure the voltage again. A healthy alternator will show a voltage increase to 13-14 volts. A small increase or no change signals an alternator or voltage regulator problem.
3. Identifying a Parasitic Drain: The Silent Battery Thief
If the battery drains when the engine's off, a parasitic drain might be present. This means something continuously draws power even while the tractor is not running. To diagnose this, disconnect the negative (-) battery terminal overnight. If the voltage remains the same, a parasitic drain exists somewhere in the electrical system. This often requires tracing wires and checking accessories to pinpoint the problem, and may necessitate professional assistance.
4. Focused Alternator Tests: Pinpointing the Issue
If the voltage tests suggest charging issues, focus your investigation on the alternator.
The Headlight Test: With the engine running, turn on your headlights, or other significant electrical loads. If the lights dim noticeably, the alternator isn’t providing sufficient power. The engine might also sound strained if the alternator is struggling. This simple test provides strong preliminary evidence.
The Battery Disconnect Test (Proceed with Caution): This test, while providing valuable information, is potentially dangerous. Only attempt this if you're comfortable working with automotive electrical systems. With the engine running, briefly disconnect the negative battery terminal. Bright headlights after disconnection suggest a functioning alternator; dimming headlights or immediate shutdown suggest a likely alternator fault. Always remember safety first! Disconnecting the battery while the engine runs can cause sparks. If unsure, consult a professional.
5. Investigating the Voltage Regulator: The Alternator's Control Unit
Many older tractors have a separate voltage regulator, which controls the alternator's output. Refer to your owner's manual for specific tests. This often involves checking voltage at the regulator's input and output terminals with your multimeter. If unsure, consult a qualified mechanic.
6. Advanced Diagnostics: Using a Clamp Meter for Precision
For precise measurement, a clamp meter (a device measuring electrical current) directly measures current (amps) flowing through a wire, accurately assessing the alternator’s output.
7. Troubleshooting Summary Table: Quick Reference Guide
| Problem | Possible Cause(s) | Next Step |
|---|---|---|
| Low Voltage at High RPM | Faulty alternator, bad voltage regulator, weak battery | Test alternator and regulator; consider battery load test. Replace if needed. |
| No Voltage Increase | Faulty alternator, bad connections, failed voltage regulator | Thoroughly check alternator, all connections, and Voltage Regulator. |
| Battery Drains Overnight | Parasitic drain, faulty accessory, short circuit | Trace wires, disconnect accessories one by one, to discover the drain. |
| Intermittent Charging Issues | Loose or corroded connections, failing alternator | Clean and tighten connections. Test the alternator's output. |
Safety First: Always disconnect the negative (-) battery terminal before working on the tractor's electrical system. This prevents accidental shorts and protects you from electric shocks. If uncomfortable with any step, consult a qualified mechanic. A properly functioning charging system ensures uninterrupted operation.
How to Troubleshoot Ford Tractor Alternator Charging Problems (with Separate Voltage Regulator)
Ford tractors, especially models like the 9700, 8000, and TW15, often use separate alternator and voltage regulator units. This increases potential failure points. The voltage regulator controls alternator output; a fault in either prevents proper charging.
Step-by-Step Troubleshooting (Ford Tractors with Separate Voltage Regulator):
Visual Inspection: Check for damage, loose connections, or corrosion on the alternator, voltage regulator, and wiring harness. Clean and tighten as needed.
Battery Voltage Test: With the engine off, measure battery voltage (should be around 12.6V). Low voltage indicates a weak battery.
Engine Running Voltage Test: Start the engine and measure voltage at battery terminals (should be around 14V). Low voltage points to a charging system problem.
Alternator Output Voltage Test: Measure voltage directly at alternator output terminals. Low voltage indicates a faulty alternator.
Voltage Regulator Test: Measure voltage between the voltage regulator's output and ground with the engine running. Erratic or low readings indicate a faulty regulator.
Wiring and Connection Inspection: Check all wires and connections for damage or corrosion, repairing or replacing as needed.
Fuse Check: Check fuses related to the charging system. A blown fuse will prevent the alternator from receiving power.
Advanced Troubleshooting (Ford Tractors):
If the above steps fail, advanced diagnostics (testing input/output signals, continuity checks, and internal alternator component testing) might be necessary. Consult a mechanic for this.
Upgrading to a Single-Wire Alternator System: A Proactive Solution
Switching to a single-wire system simplifies the system, reducing failure points. This requires modification and potentially professional installation.